장치 관리자에서 알 수 없는 장치 해결 방법
드라이버 오류로 알 수 없는 장치가 나타나면 현재 설치된 드라이버를 제거하고 하드웨어 변경 사항을 검색한 다음 새 드라이버를 설치하는 것이 좋습니다. MSI 공식 웹 사이트에 공개된 드라이버는 테스트를 통해 MSI 제품에 대한 완전한 호환성을 보장하므로 이를 설치하기를 권장합니다. 칩셋 공급업체에서 자체 웹 사이트에 최신 버전을 공개하는 경우도 있으니, 이 드라이버를 사용해도 됩니다. Windows 업데이트를 통해 업데이트할 수도 있습니다. 참고: 새 드라이버 설치 프로세스를 수행하기 전에 기존에 설치된 드라이버를 제거하세요.
MSI 공식 웹 사이트에서 드라이버 다운로드 및 업데이트
기존 드라이버 제거하기
- 기존 드라이버 제거하기
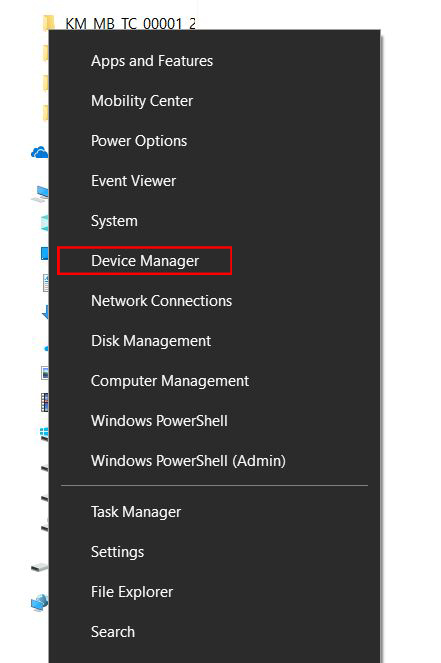
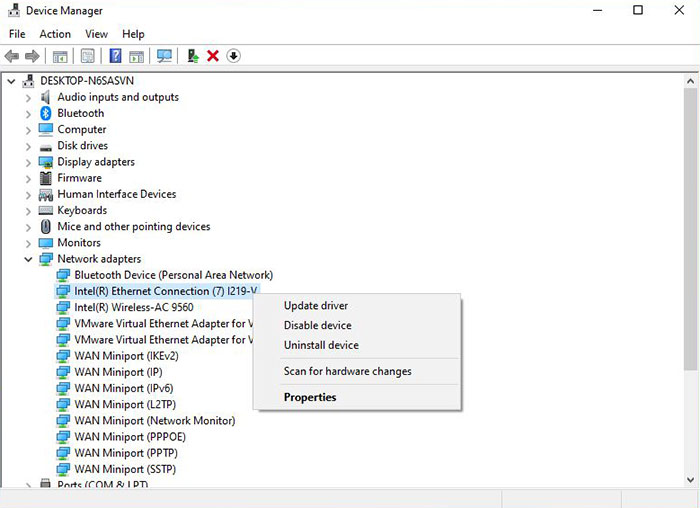
- Windows 아이콘을 우클릭하고 [장치 관리자]를 선택합니다.
- 삭제할 장치를 우클릭한 다음 [디바이스 제거]를 선택합니다.
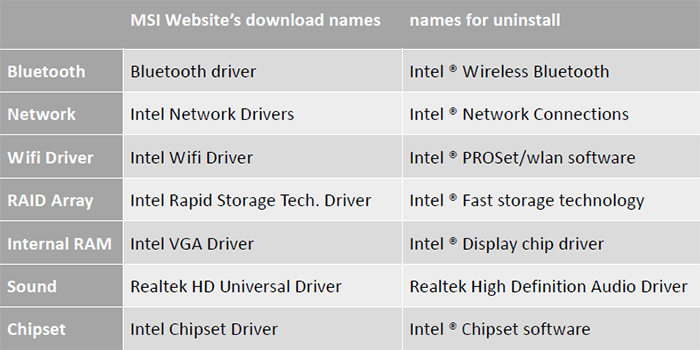
- MSI 웹 사이트 다운로드 섹션 및 프로그램 및 기능에서 찾을 수 있는 드라이버 목록 요약표
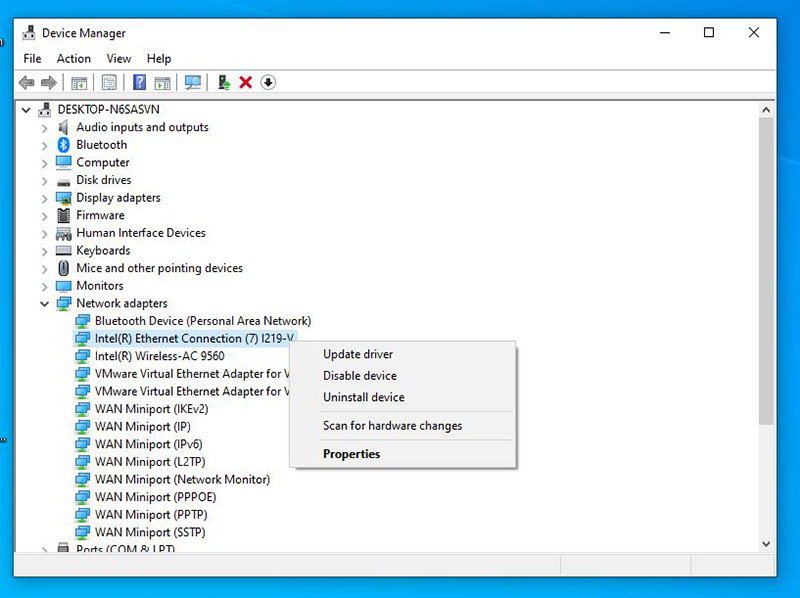
예를 들면 다음과 같습니다. MPG Z390M GAMING EDGE AC용 기존 네트워크 드라이버를 제거합니다.
-
- [네트워크 장치]를 선택하고 [Intel(R) Ethernet Connection (7) I219-V]를 우클릭한 다음 [디바이스 제거]를 선택합니다.
-
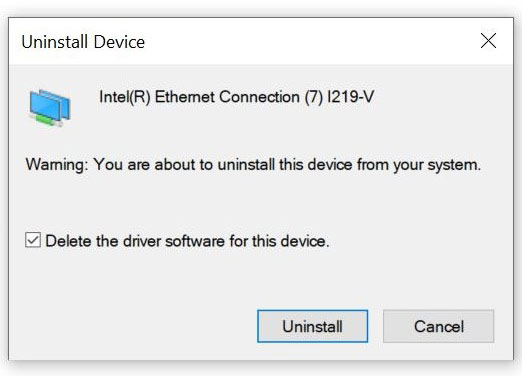
- [이 장치의 드라이버 소프트웨어를 삭제합니다.]를 체크하고 [제거]를 선택합니다.
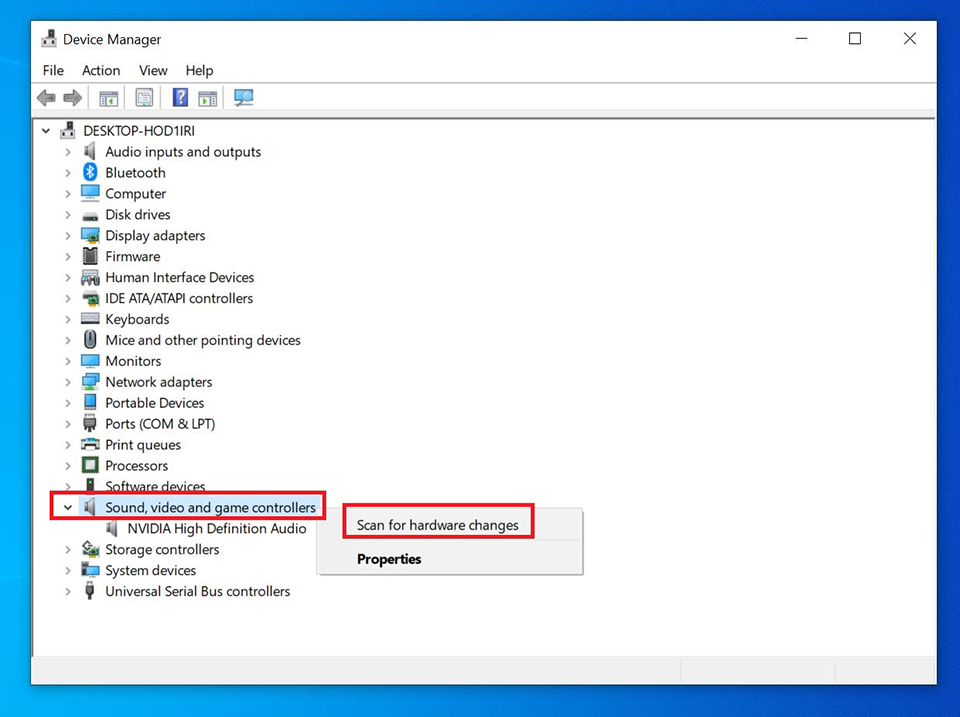
하드웨어 변경 사항 검색
장치를 제거한 다음 다시 검색했을 때 제대로 감지되었는지 확인합니다.
- [사운드, 비디오, 및 게임 컨트롤러]를 우클릭하고 [하드웨어 변경 사항 검색]을 클릭합니다.
MSI 공식 웹 사이트의 드라이버 버전 다운로드 및 설치
- MSI 공식 웹 사이트로 이동하여 마더보드를 검색하면 드라이버를 다운로드할 수 있습니다.
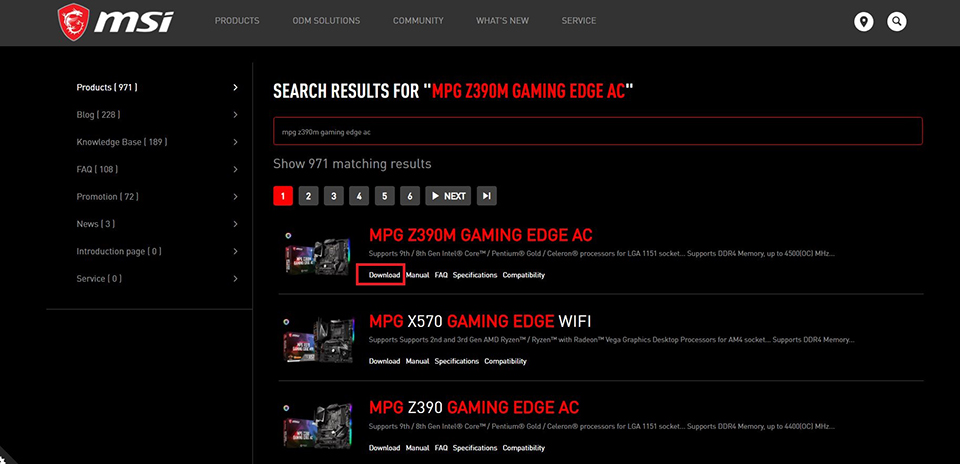
- 예를 들면 다음과 같습니다. 오른쪽 상단 검색창에 제품명(예: MPG Z390M GAMING EDGE AC)을 입력하고, [Enter]를 누릅니다.

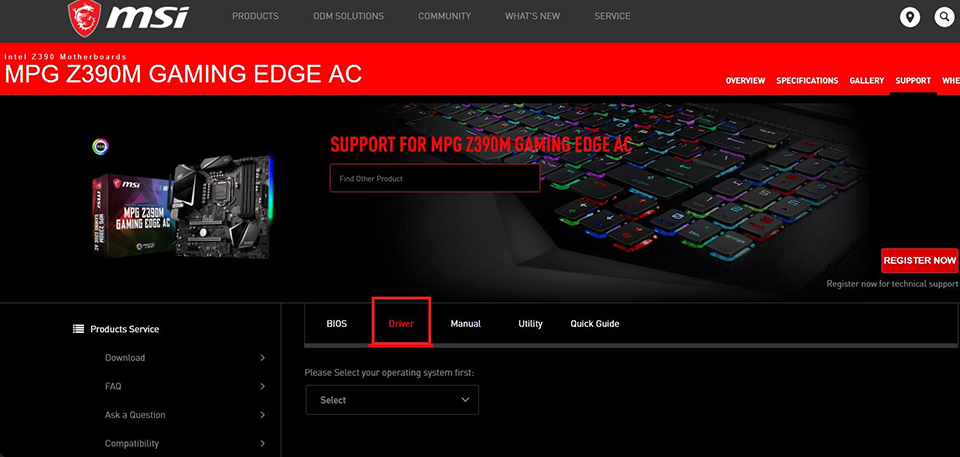
- "MPG Z390M GAMING EDGE AC"에 일치하는 결과가 표시되면 [Download]를 선택하여 다운로드 섹션으로 들어갑니다.
- [Driver] 탭으로 이동합니다.
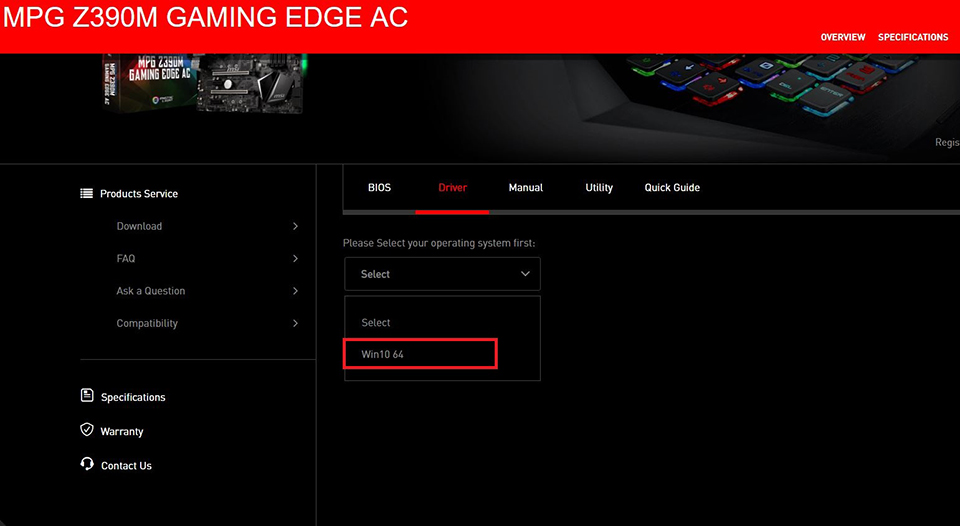
- 운영 체제를 선택합니다.
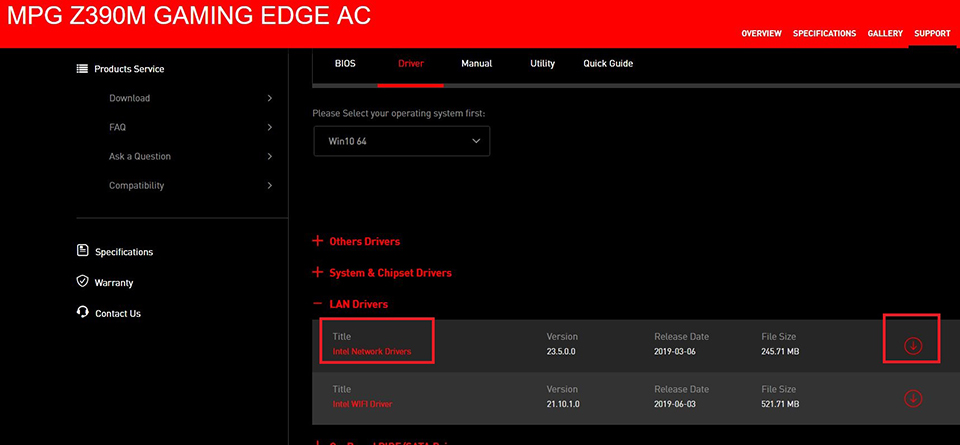
- [LAN Drivers]è를 클릭하여 확장한 다음 [Intel Network Drivers]è로 이동하여 아래쪽 화살표 아이콘을 클릭하여 다운로드합니다.
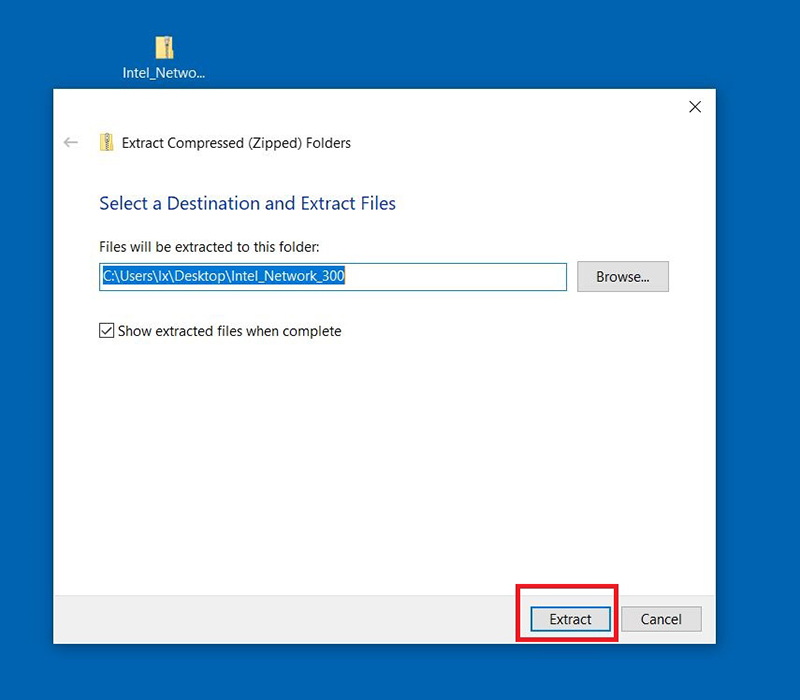
- 다운로드한 파일을 우클릭한 다음 [압축 풀기]를 선택하여 압축된 폴더를 풉니다.
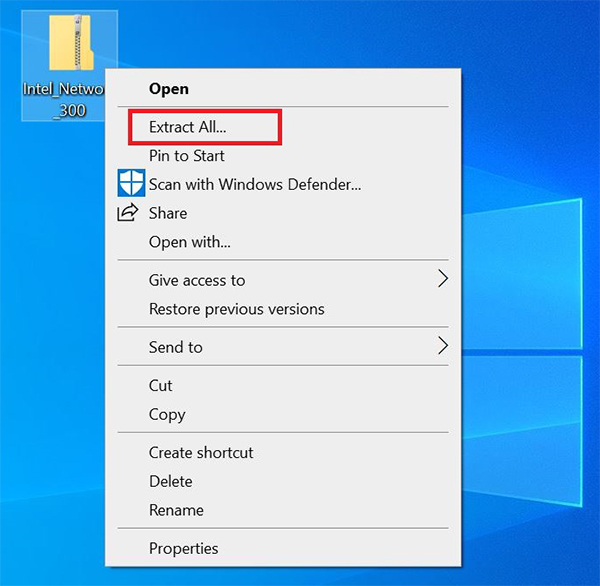
- [압축 풀기]를 선택합니다.
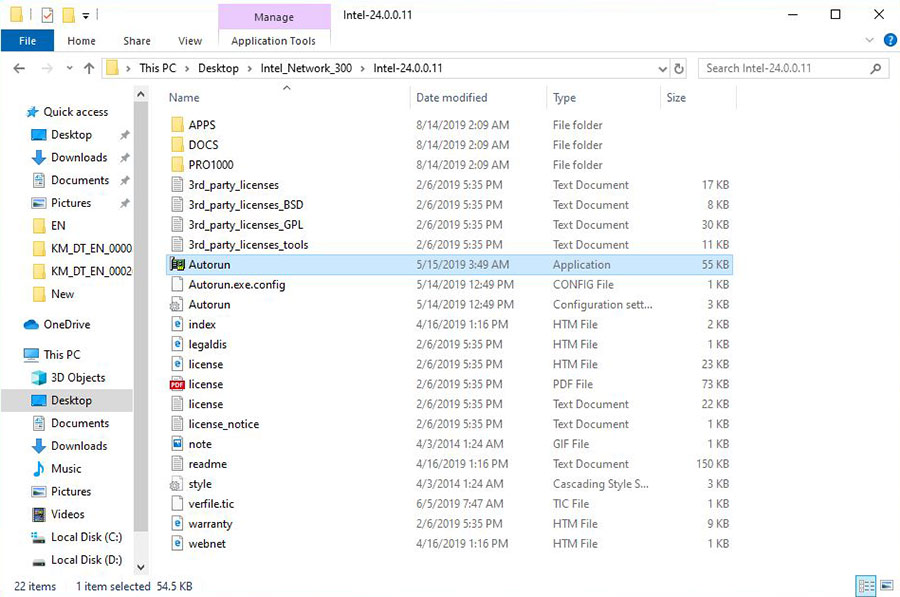
- [Autorun.exe]를 더블클릭하여 설치합니다.
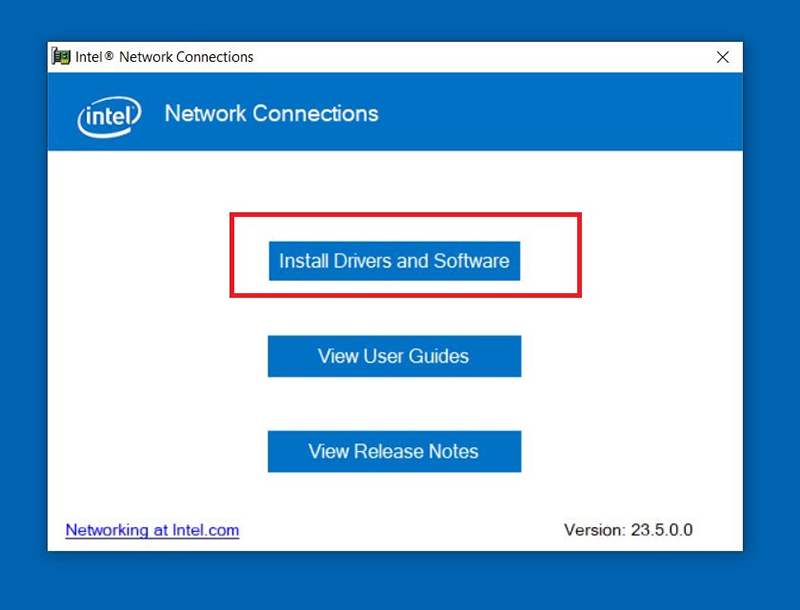
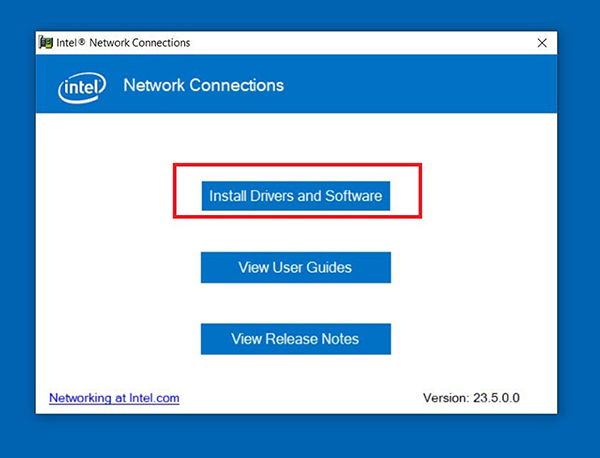
- [드라이버 및 소프트웨어 설치]를 선택합니다.
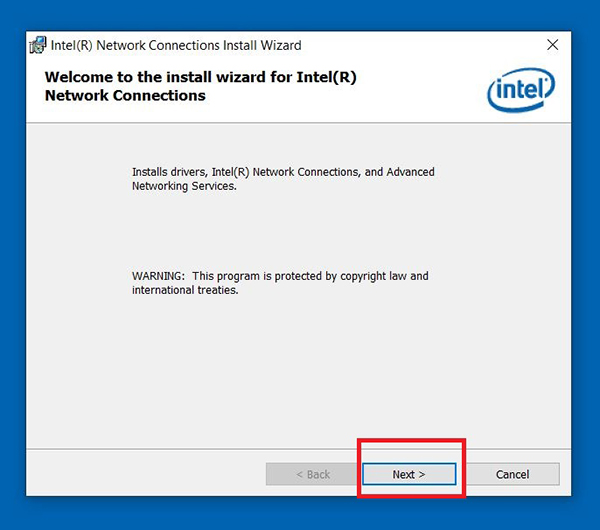
- [다음]을 선택합니다.
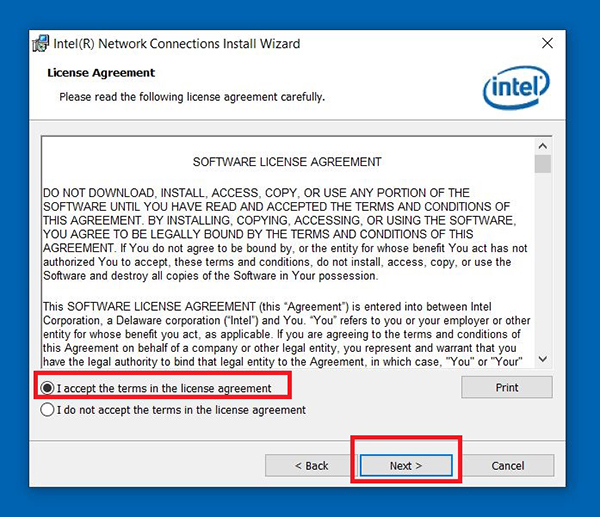
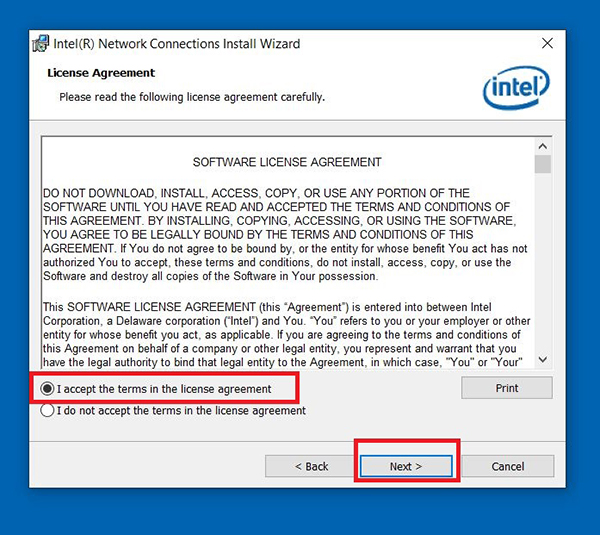
- [라이선스 약관 조항에 동의합니다.]를 체크하고 [다음]을 선택합니다.
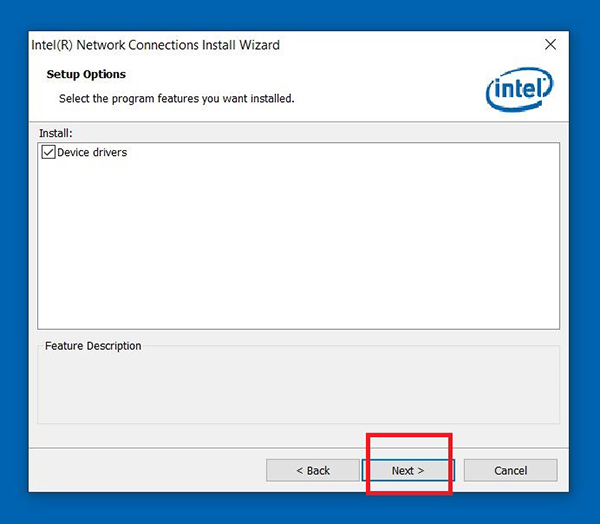
- [다음]을 선택합니다.
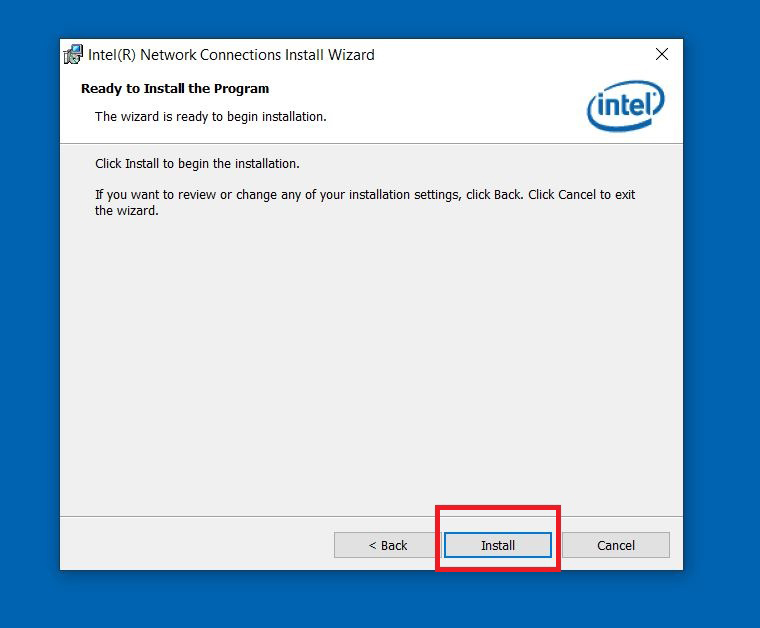
- [설치]를 선택합니다.
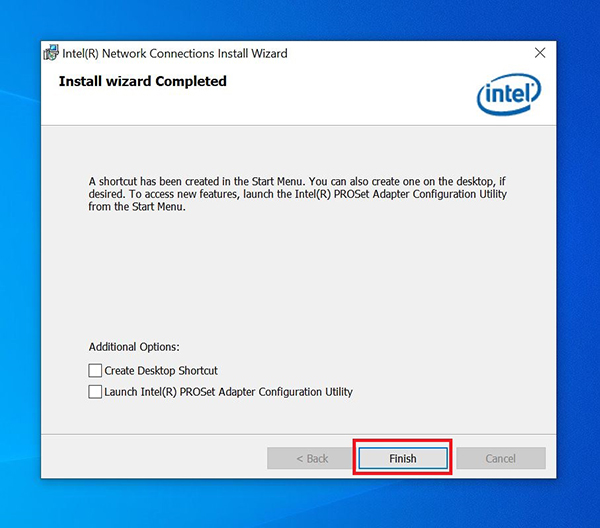
- [마침]을 클릭한 다음 컴퓨터를 재부팅합니다.

칩셋 공급업체에서 드라이버 다운로드 및 업데이트
- Intel, AMD, NVIDIA 웹 사이트에서 최신 드라이버를 다운로드하여 설치합니다.
(예: Intel에서 최신 네트워크 드라이버 I219-V 다운로드 및 설치)
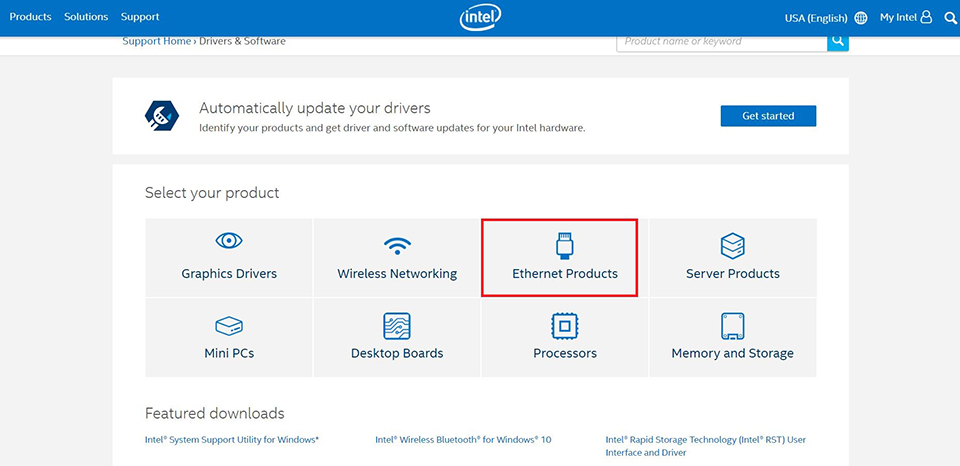
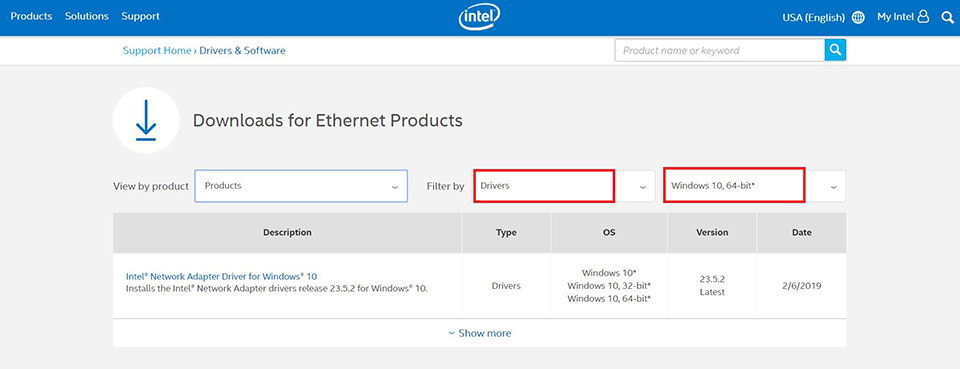
- [이더넷 제품]을 선택합니다.
- [드라이버], [Windows 10, 64비트]로 필터링합니다.
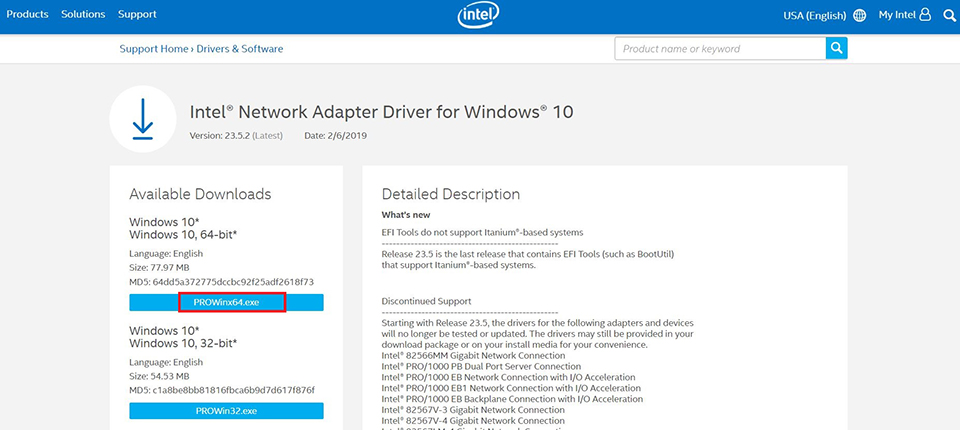
- [PROWinx64.exe]를 클릭하여 파일을 다운로드합니다.
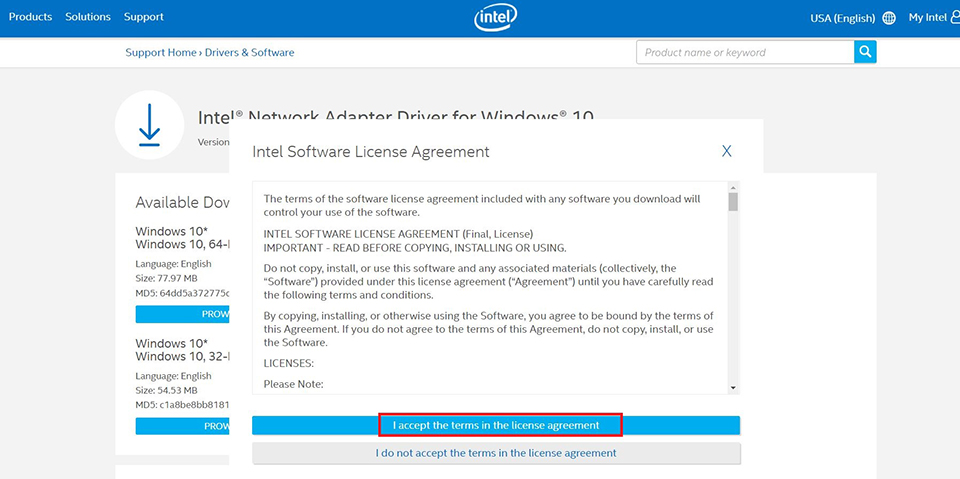
- [사용권 계약에 동의합니다]를 선택하여 다운로드 세션을 시작합니다.
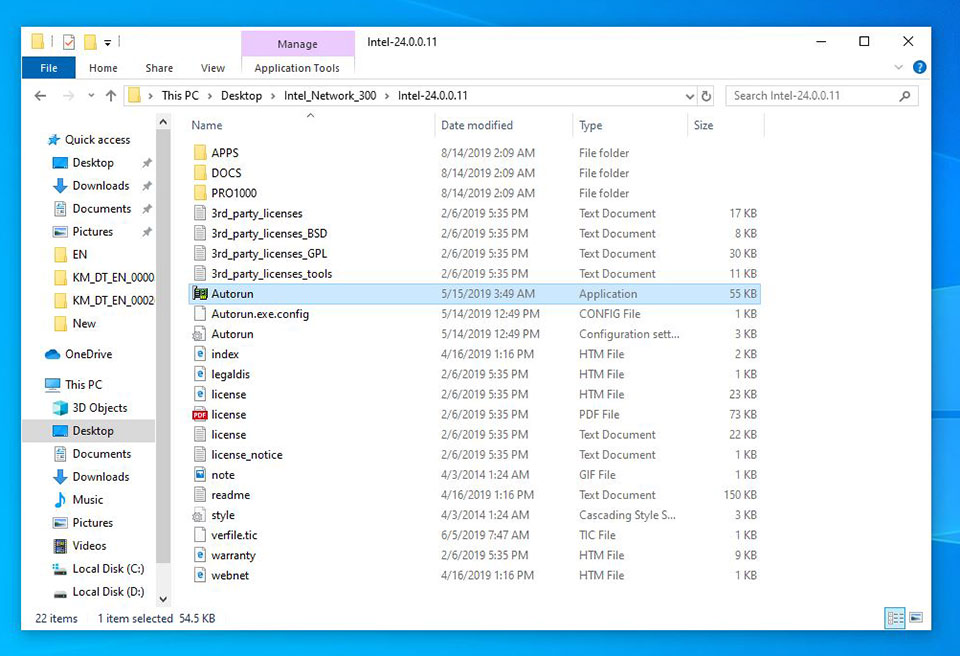
- 다운로드 세션이 완료되면 다운로드된 파일을 열고 [Autorun]를 더블클릭하여 설치합니다.
- [드라이버 및 소프트웨어 설치]를 선택합니다.
- [다음]을 선택합니다.

[사용권 계약에 동의합니다]를 체크하고 [다음]을 선택합니다.
- [다음]을 클릭합니다.

- [설치]를 선택합니다.

- [마침]을 선택하여 컴퓨터를 재부팅하면 드라이버 설치가 완료됩니다.
Windows 10에서 드라이버 업데이트
- Windows 장치 관리자로 업데이트
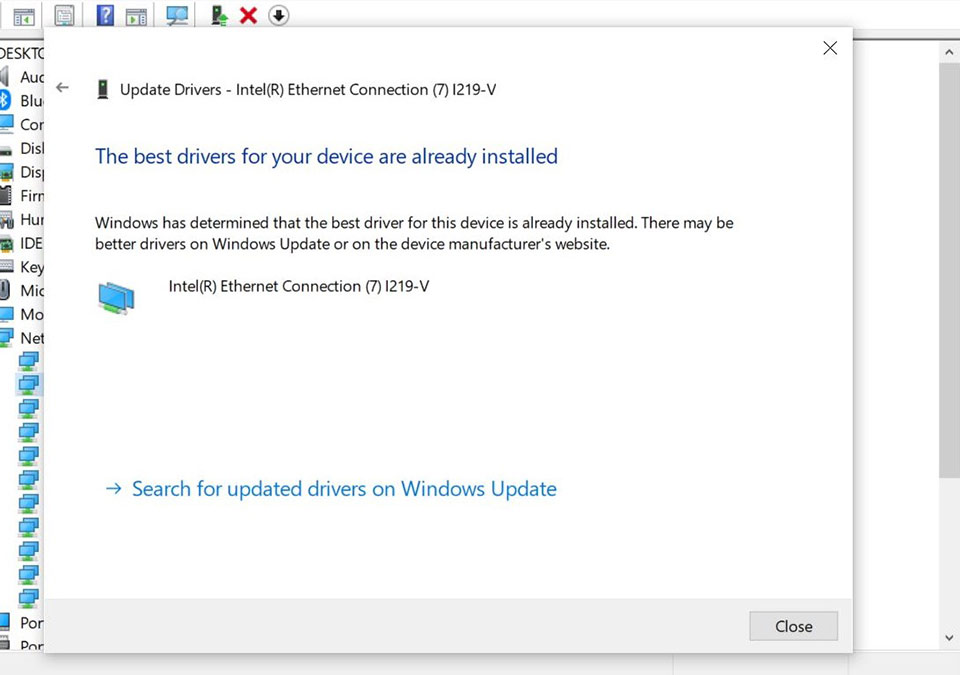
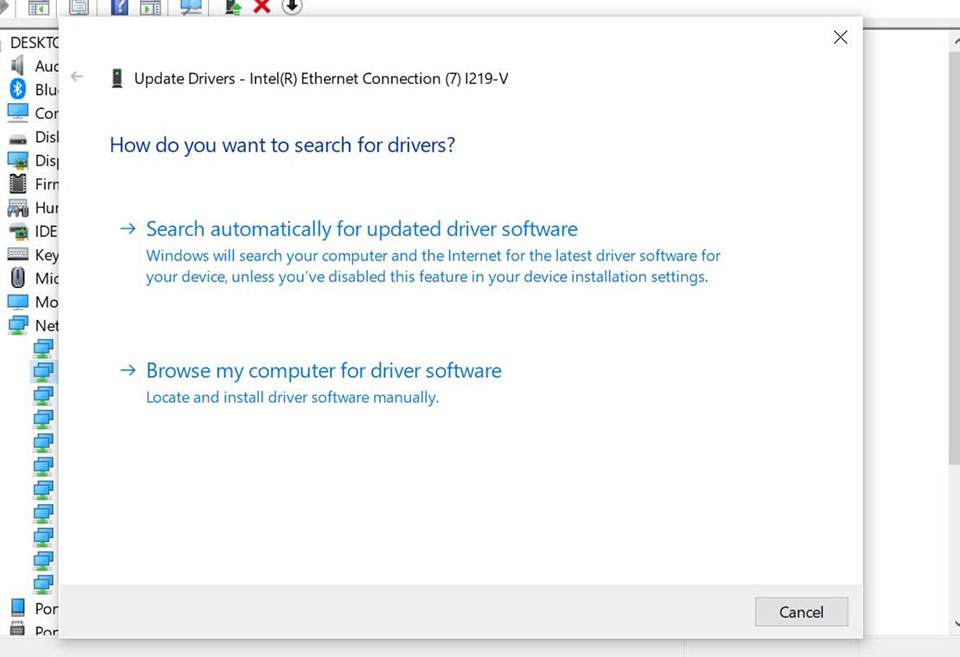
- [네트워크 어댑터]를 선택한 다음 [Intel(R) Ethernet Connection(7) I219-V]를 우클릭하고 [드라이버 업데이트]를 선택합니다.
- [컴퓨터에서 드라이버 소프트웨어 검색]을 선택합니다.
- [닫기]를 클릭하여 드라이버 설치 프로세스를 완료합니다.